
Best Bathroom Paint NZ: Products, Finishes & Expert Tips for 2026
Quick Answer: The best bathroom paint in New Zealand is Resene SpaceCote Low Sheen Kitchen & Bathroom. It includes MoulDefender anti-mould technology and anti-bacterial silver protection, is low-odour, and is specifically formulated for high-moisture environments. For trims and joinery, use Resene Lustacryl Kitchen & Bathroom. Both products are Environmental Choice approved.
Best Bathroom Paint Products in NZ
Standard interior paint will not hold up in a bathroom. Moisture, steam, and temperature swings break down regular paint within a few years, leading to peeling, bubbling, and mould growth. Bathroom-specific formulations are designed to handle these conditions. Here are the top products available in New Zealand.
Resene Kitchen & Bathroom Range
Resene dominates the NZ bathroom paint market with a dedicated Kitchen & Bathroom range. Every product in this line includes MoulDefender (mould-resistant additive) and anti-bacterial silver protection. The range was voted New Zealand's most trusted paint brand in 2025.
| Product | Use | Finish | Key Features |
|---|---|---|---|
| SpaceCote Low Sheen K&B | Walls | Low sheen | MoulDefender, anti-bacterial silver, washable, low odour |
| SpaceCote Flat K&B | Ceilings | Flat | Hides imperfections, mould-resistant, low odour |
| Lustacryl K&B | Trims & joinery | Semi-gloss | Enamel-like durability, easy-clean, mould-resistant |
| Waterborne Sureseal | Primer/sealer | N/A | Blocks stains, seals plasterboard, low odour |
Dulux Bathroom Options
Dulux Wash & Wear Kitchen & Bathroom is the main competitor. It offers good moisture resistance and washability, though it does not include the dedicated anti-mould additives found in the Resene range. Dulux Aquanamel is a solid choice for bathroom trims and cabinetry, providing a hard-wearing semi-gloss finish.
Product Comparison at a Glance
| Feature | Resene SpaceCote K&B | Dulux Wash & Wear K&B |
|---|---|---|
| Anti-mould additive | Yes (MoulDefender) | No (standard formulation) |
| Anti-bacterial | Yes (silver protection) | No |
| Environmental Choice | Yes | Check label |
| Sensitive Choice approved | Yes | No |
| Price range (per litre) | $30-$50 | $28-$45 |
| Colour range | 800+ colours | Full Dulux range |
Popular Bathroom Colours in NZ
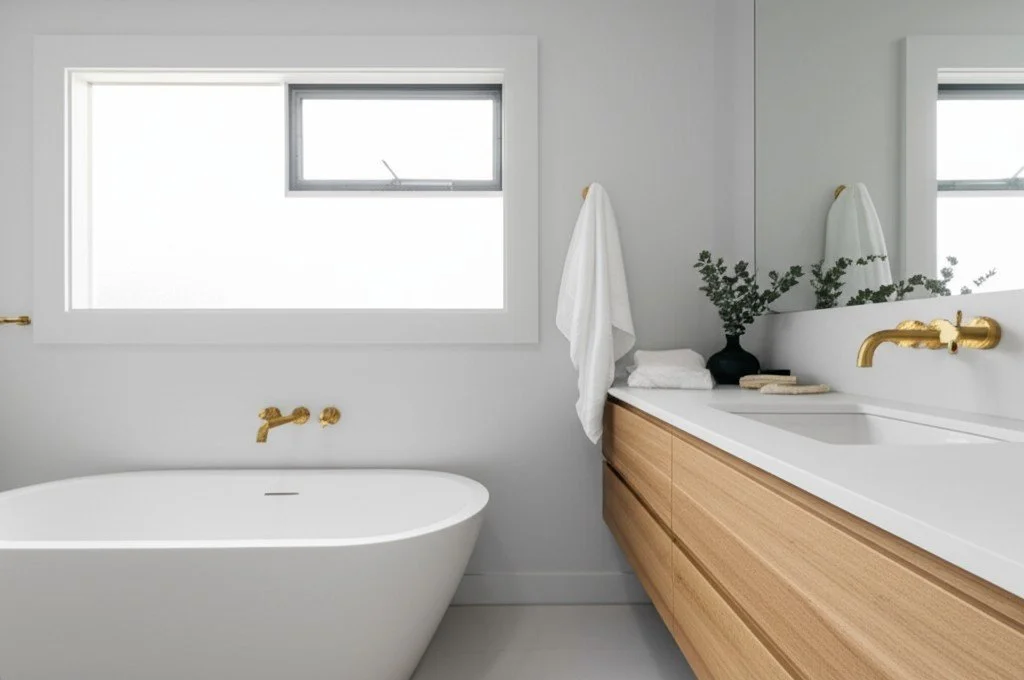
Neutral and calming tones remain the go-to for NZ bathrooms. Resene Black White (a crisp calcite grey-white) is consistently the best-selling bathroom colour nationally. Resene Duck Egg Blue offers a softer alternative with a pale shell-blue tone that creates a relaxed, spa-like feel. For a warmer direction, Dulux's 2025-2026 palette includes soft greige and muted sage tones that pair well with natural timber vanities and brass fixtures.
Choosing the Right Finish for Your Bathroom
The finish (sheen level) you choose matters as much as the brand. Each area of your bathroom has different moisture exposure and needs a different finish to perform well and look right.
Walls: Low Sheen
Low sheen is the standard recommendation for bathroom walls. It provides enough sheen to resist moisture penetration and allow easy cleaning, while being forgiving enough to hide minor imperfections in plasterboard or older surfaces. A low sheen finish will not show every roller mark or wall irregularity the way a gloss would.
Ceilings: Flat
Bathroom ceilings should be painted in a flat finish using a bathroom-specific product like Resene SpaceCote Flat Kitchen & Bathroom. Standard flat paints absorb moisture and become breeding grounds for mould. Bathroom-rated flat paints resist this while still providing the diffused, non-reflective finish that hides ceiling imperfections.
Trims and Joinery: Semi-Gloss
Door frames, skirting boards, window frames, and any timber joinery in the bathroom need a harder-wearing semi-gloss or gloss finish. Resene Lustacryl Kitchen & Bathroom or Dulux Aquanamel both provide enamel-like durability that handles direct water splashes and regular cleaning without breaking down.
Finish Comparison
| Finish Type | Best For | Moisture Resistance | Hides Imperfections | Cleanability |
|---|---|---|---|---|
| Flat | Ceilings | Good (bathroom-rated only) | Excellent | Moderate |
| Low sheen | Walls | Very good | Good | Good |
| Semi-gloss | Trims, joinery | Excellent | Poor (shows flaws) | Excellent |
| Gloss | Feature areas, cabinets | Excellent | Poor | Excellent |
What About Painting Bathroom Tiles?
Tile painting is possible but comes with significant caveats. Standard bathroom paint will not adhere to glazed tiles. You need a specialist tile primer (such as Resene Waterborne Smooth Surface Sealer) followed by a durable topcoat. Even with proper preparation, painted tiles in high-splash zones around showers and baths tend to chip and peel within a few years. For splashback areas behind vanities or on feature walls away from direct water, tile paint can be a cost-effective refresh. For shower enclosures, replacement or re-grouting is the more durable option.
How to Prepare and Paint a Bathroom
Preparation accounts for roughly 70% of a successful bathroom paint job. Skipping steps in a high-moisture environment leads to peeling, mould, and a finish that fails prematurely. In Canterbury, where many homes have limited bathroom ventilation, thorough preparation is especially important.
Step 1: Address Existing Mould
Painting over mould does not kill it. The mould will grow through the new paint within months. Treat any visible mould with a dedicated mould killer (Resene Moss & Mould Killer or a bleach solution) and allow the surface to dry completely before any preparation work begins. If mould is extensive or behind the paint film, the affected surface may need to be stripped back.
Step 2: Clean All Surfaces
Bathrooms accumulate soap residue, body oils, and cleaning product films that prevent paint adhesion. Wash all surfaces with sugar soap, rinse thoroughly, and allow to dry. Pay particular attention to areas around the shower, bath, and basin where buildup is heaviest.
Step 3: Repair and Fill
Fill any cracks, nail holes, or damaged areas with a flexible filler suitable for wet areas. Sand smooth once dry. In older Canterbury homes, check for any soft or crumbling plaster around window frames and shower recesses, as these areas often suffer from years of moisture exposure.
Step 4: Prime
Apply Resene Waterborne Sureseal or an equivalent bathroom primer to all bare surfaces, repaired areas, and any stained patches. This sealer blocks stains, improves adhesion, and provides a consistent base for your topcoat. On new plasterboard, primer is essential to prevent moisture from penetrating the paper face.
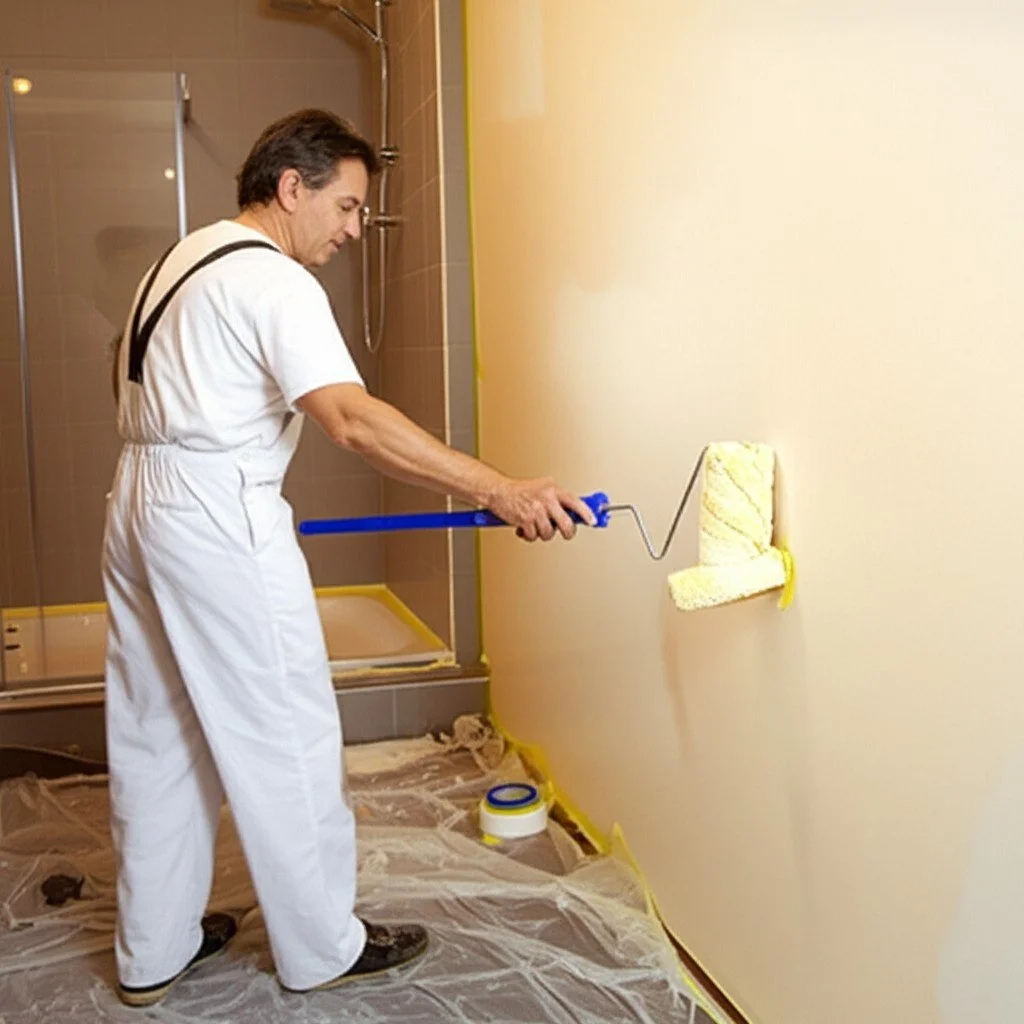
Step 5: Apply Topcoat
Apply two coats of your chosen bathroom paint, allowing full drying time between coats. In Canterbury's cooler months, drying times extend significantly. Ensure good ventilation during and after painting. If your bathroom lacks an extractor fan, open windows and use a portable fan to circulate air. Do not close up the bathroom immediately after painting, as trapped moisture will compromise the finish.
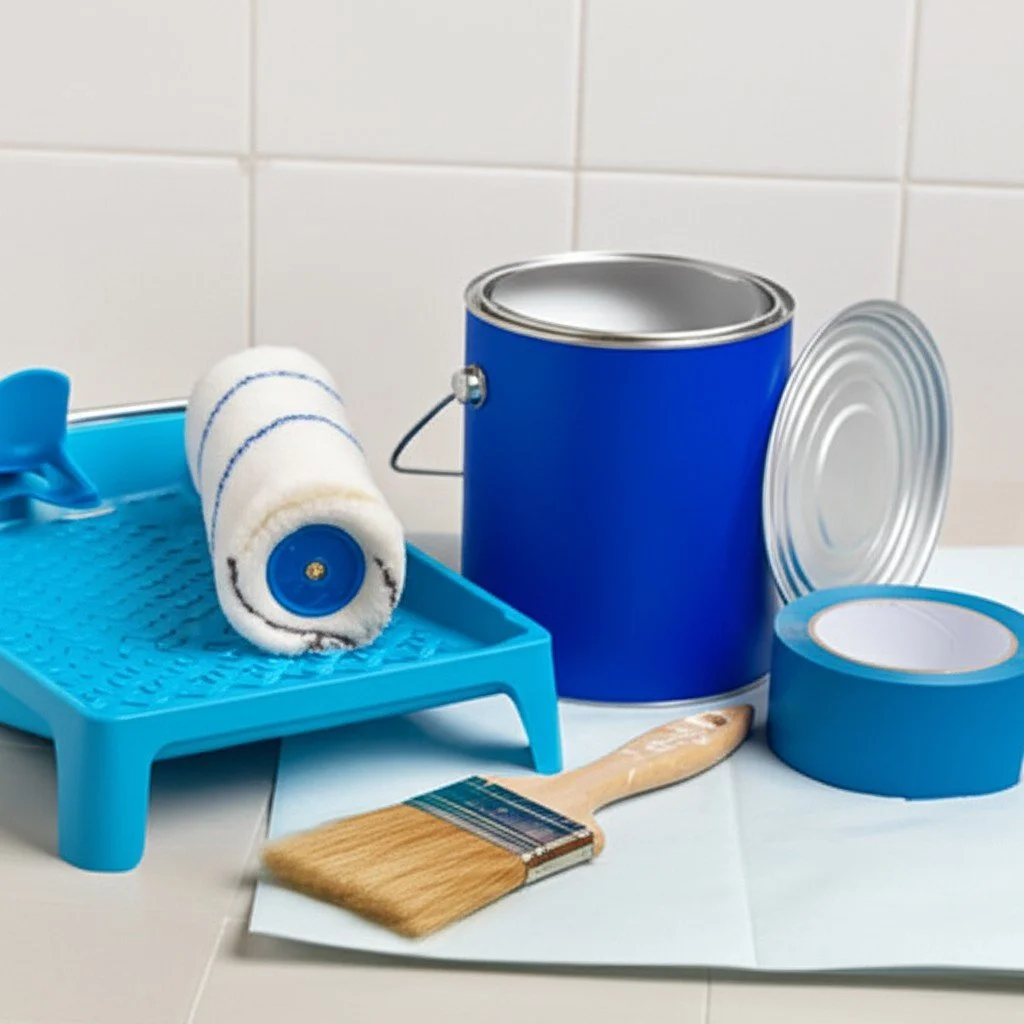
Preparation Checklist
| Step | Product / Tool | Why It Matters |
|---|---|---|
| Kill mould | Resene Moss & Mould Killer | Mould grows through paint if untreated |
| Clean surfaces | Sugar soap + water | Removes residue that prevents adhesion |
| Fill and sand | Flexible wet-area filler | Smooth base for even finish |
| Prime | Resene Waterborne Sureseal | Blocks stains, seals porous surfaces |
| Topcoat (2 coats) | Resene SpaceCote Low Sheen K&B | Mould-resistant, durable, washable |
| Ventilate | Extractor fan or open windows | Prevents moisture trapping during cure |
Common Mistakes to Avoid
- Using standard interior paint: Regular paint lacks moisture resistance and mould protection. Always use a bathroom-rated product.
- Skipping primer on new plasterboard: Unprimed plasterboard absorbs moisture through the paint film, leading to bubbling and mould.
- Painting in cold, humid conditions: Canterbury winters are not ideal for bathroom painting. If you must paint in winter, run a dehumidifier and ensure the room is above 10°C for proper curing.
- Insufficient drying between coats: Rushing the second coat traps moisture between layers. Follow the manufacturer's recommended recoat time, which increases in cold or humid conditions.
Why Choose Reuben Ellis Decorating for Your Bathroom
Bathrooms are one of the trickiest rooms to paint well. Between tight spaces, moisture management, and the need for specialised products, it is a job where cutting corners shows quickly. Our professional interior painting services in Christchurch include bathroom-specific expertise that ensures your finish lasts and your walls stay mould-free.
What Sets Us Apart
- Master Painter Gold Award recognition: Our quality standards are verified at the highest industry level, giving you confidence that every surface is prepared and painted to last.
- Bathroom-specific product knowledge: We use the right product system for each surface in your bathroom, from mould-resistant wall paints to durable trim enamels, ensuring nothing is compromised by moisture.
- Thorough preparation: We treat existing mould, repair damaged surfaces, and prime properly before any topcoat is applied. This is where most DIY bathroom paint jobs fail, and where professional preparation makes the difference.
- 5-Point Quality Guarantee: Every project is backed by our guarantee covering preparation, product selection, application, cleanup, and final inspection.
Frequently Asked Questions
What is the best paint for a bathroom in New Zealand?
Resene SpaceCote Low Sheen Kitchen & Bathroom is the top recommendation. It includes MoulDefender anti-mould technology, anti-bacterial silver protection, and is specifically formulated for high-moisture environments. Dulux Wash & Wear Kitchen & Bathroom is a solid alternative.
Should I use semi-gloss or low sheen in a bathroom?
Use low sheen on walls (hides imperfections, resists moisture) and semi-gloss on trims and joinery (maximum durability and cleanability). For ceilings, use a flat bathroom-rated paint. Using the right finish on each surface gives you the best combination of performance and appearance.
Can you paint over bathroom tiles in NZ?
You can paint tiles away from direct water exposure (vanity splashbacks, feature walls) using a specialist tile primer and durable topcoat. Tiles inside showers or directly around baths are not recommended for painting, as the finish will chip and peel within a few years due to constant water contact.
How do I prevent mould on painted bathroom walls?
Use a bathroom-specific paint with mould-resistant additives like Resene MoulDefender. Ensure your bathroom has adequate ventilation (extractor fan or openable window), wipe down wet surfaces after showering, and address any leaks or condensation issues promptly. Good ventilation is more important than any paint product.
How much does it cost to paint a bathroom in NZ?
A professional bathroom paint job in Christchurch typically ranges from $500-$1,200 depending on bathroom size, surface condition, and whether repairs are needed. DIY costs are lower ($100-$300 for paint and materials) but results depend heavily on preparation quality.
How long does bathroom paint take to cure in Canterbury?
Most bathroom paints are touch-dry in 2-4 hours but take 7-14 days to fully cure. During Canterbury's cooler months, this can extend to 3-4 weeks. Avoid steam exposure (hot showers) for at least 3 days after painting, and keep the room ventilated during the full curing period.