
Expert Guide To Sanding Walls Before Painting
Sanding walls before painting is essential for achieving a smooth, professional finish. Proper sanding removes imperfections, providing an ideal surface for paint adhesion. By taking the time to sand your walls, you can ensure your painting project has excellent results and longevity.
- Why is sanding walls important before painting?
- What tools do I need to sand walls?
- Can I skip sanding if the walls look smooth?
- What grit sandpaper should I use?
- How can I protect myself while sanding?
- How long should I spend sanding each wall?
- Do I need to clean the walls after sanding?
- Is it necessary to sand between coats of paint?
Sanding walls before painting is a pivotal step in the painting process, often overlooked by those eager to apply the first coat. This guide by Reuben Ellis Decorating, located in Christchurch, New Zealand, will delve deep into the nuances of wall preparation. Whether you're a DIY enthusiast or a seasoned professional, understanding the importance of sanding can vastly improve your painting outcomes.
Why Sanding is Crucial
Sanding creates a smooth canvas by eliminating surface irregularities and improving adhesiveness. Without this vital preparation, paint can accentuate bumps or cracks, leading to a less-than-perfect finish. This process is as relevant for new walls as it is for those being repainted, as it ensures old paint layers or plaster are evenly prepared.
Tools and Techniques for Effective Sanding
Different surfaces may require specific tools and techniques to achieve the best results. Sanders, sanding blocks, and hand sandpapers come in various grit sizes, each serving a unique purpose. Whether handling areas with chipped paint or smoothing brand-new plaster, choosing the right tool can make the task more efficient and less time-consuming.
Moreover, mastering the technique of sanding—such as circular or linear motions depending on wall imperfections—can influence the paint's adherence and aesthetic appeal. Understanding these subtle tactics is critical in evolving your painting endeavours from amateur attempts to professional masterpieces.
Health and Safety Considerations
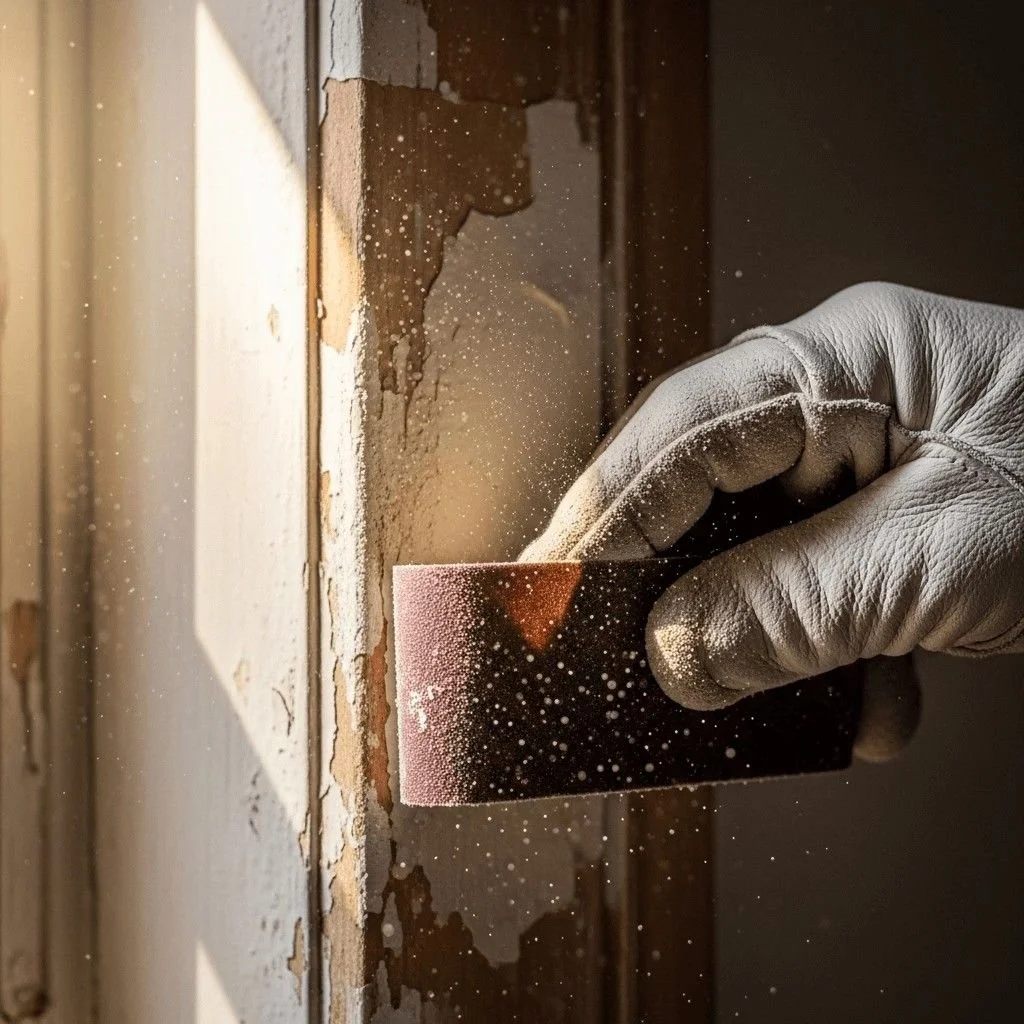
When sanding, maintaining health and safety is paramount. Dust generated from this process can be hazardous if inhaled. Protective equipment such as masks, goggles, and gloves are essential to ensure a safe work environment, especially when sanding older walls that may contain harmful materials like lead-based paints.
In summary, meticulous preparation through sanding is not just about achieving smoother walls; it is about setting the foundation for a painting project that exemplifies quality and durability.
Preparation and Setup
Before embarking on the task of sanding walls before painting, thorough preparation is crucial. Proper setup ensures a more efficient workflow, a cleaner workspace, and ultimately, a better result. In this section, we'll delve into the key preparation steps and the specific tools that are essential for successful wall sanding, laying the groundwork for a seamless painting process.
Workspace Organisation
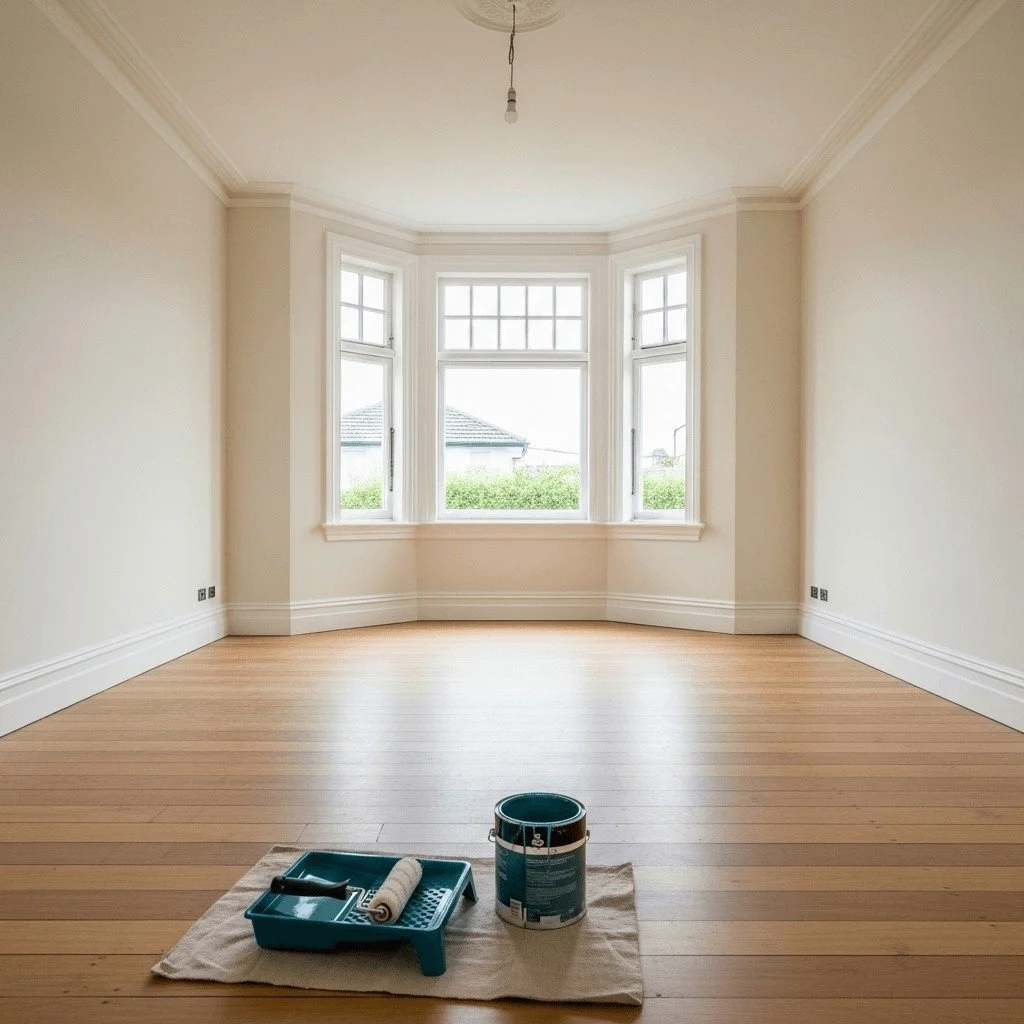
Organising your workspace is the first step in preparation for sanding walls. Ensure your area is well-ventilated, as dust from sanding can accumulate quickly. Use drop cloths or plastic sheeting to protect your floors and furniture. Secure anything you do not want to get covered in dust. This simple but effective step can save time during cleanup and help maintain a tidy working environment.
Tools and Materials Needed
Equipping yourself with the right tools is vital for the sanding process. Basic items such as sandpaper or sanding sponges will be needed, but selecting the correct grit is essential depending on the wall's condition. Medium-grit sandpaper is generally suitable for initial smoothing, while finer grits can refine the surface. An electric sander may be beneficial for large areas to increase efficiency. Additionally, a dust mask, goggles, and tack cloths are critical to ensure safety and cleanliness, protecting both you and your surroundings during the project.
Wall Inspection and Repair
Before you start sanding, inspect the walls for any defects. Look for cracks, holes, or peeling paint that may need repairing. Patch holes with filler and scrape any peeling paint thoroughly, leaving a clear, even surface for sanding. Performing these repairs before sanding not only makes the surface smoother but also ensures that the paint adheres properly, preventing future complications.
Ensuring a Safe Environment
Safety cannot be overstated when preparing for sanding walls. Dust from sanded materials can be a health hazard, so wearing a dust mask is imperative. Safety eyewear protects against flying debris, while ear protection may be necessary when using power tools. Additionally, securing the work area to prevent tripping on cables or tools contributes significantly to a safe and efficient sanding process.
Understanding these preparation steps provides a solid foundation for tackling your wall sanding project effectively. Next, we will explore the actual techniques for sanding walls, ensuring you achieve a flawlessly smooth finish.
Techniques for Sanding Walls
Mastering the art of sanding walls before painting can significantly influence the final look of your paintwork. Once you have carefully prepared your workspace and assembled your tools, it's time to delve into the actual techniques that make the process efficient and effective. This section will guide you through essential sanding methods and tips that enhance paint adhesion and surface smoothness.
Choosing the Right Sandpaper
Your choice of sandpaper can make or break the sanding process. For most wall surfaces, start with medium grit sandpaper (80 to 120 grit) to remove old paint or imperfections. If the walls are relatively smooth, fine grit sandpaper (150 to 180 grit) will suffice for a polished finish. Additionally, for intricate corners or edges, using a sanding sponge can offer better control and access.
Using Sanding Tools Effectively
The right tools can greatly ease the sanding process. Consider using a pole sander for large wall areas to prevent uneven surfaces and maintain consistent pressure. For smaller or enclosed spaces, a hand sander is ideal, providing precision and control. Electric sanders can expedite the process, but it's crucial to use them with care to avoid removing too much of the wall material.
Applying the Correct Technique
When sanding, ensure you move in a consistent, circular motion to avoid creating scratch marks that might show through the paint. It's also essential to start from the top of the wall and work your way down, which helps in catching all debris and dust as you progress. Regularly wipe the surface with a damp cloth to clear accumulating dust and check the wall’s readiness for painting.
Final Checks Before Painting
Once sanding is complete, conduct a final inspection. Run your hand along the walls to detect any remaining rough patches. Ensure all dust is removed from the surface, as residual dust particles can interfere with paint adherence, leading to an uneven finish. Consider using a vacuum with a brush attachment for thorough dust removal. These steps ensure your walls are impeccably prepared for the next stage of painting.
By employing these techniques, you transform the often cumbersome task of sanding into a streamlined process that guarantees superior results. By following the methods outlined above, you lay the groundwork for a professional-grade paint job.
Why Choose Reuben Ellis Decorating for Sanding & Painting Excellence
In the vibrant city of Christchurch, New Zealand, homeowners and businesses alike are on the lookout for top-notch services when it comes to preparing their walls for a fresh coat of paint. When it comes to sanding walls before painting, Reuben Ellis Decorating stands out as the leading choice for various compelling reasons. Known for their meticulous attention to detail and professional expertise, they bring a local touch to every project, backed by years of experience in the painting industry in Christchurch.
Experienced Local Experts
Reuben Ellis Decorating boasts a team of highly experienced professionals who understand the unique challenges and requirements of wall preparation. Their local expertise ensures they are well-versed in the specific conditions encountered in Christchurch homes and commercial properties, from the type of walls common in the area to the best practices for dealing with local weather influences. This knowledge translates into a flawless finish every time, with precision and care evident in their work quality.
What Sets Us Apart
One of the primary reasons customers choose Reuben Ellis Decorating is their commitment to excellence and customer satisfaction. Unlike other providers, they offer personalised services tailored to meet the exact needs of each client. This personalised approach is coupled with the use of high-quality materials and tools, ensuring longevity and beauty in every project. Additionally, their reputation for reliability and punctuality ensures every job is completed on time and to the highest standards. Check out our Christchurch interior painting service page for more information.
In a realm where attention to detail is paramount, choosing Reuben Ellis Decorating ensures peace of mind and results that exceed expectations. They demonstrate not only knowledge and skill but also a genuine passion for transforming spaces, making them the ideal choice for sanding walls before painting in Christchurch.
Call 027 777 9543This brings us to the upcoming section that will delve into frequently asked questions, providing further insights and addressing common queries related to sanding walls before painting.
Frequently Asked Questions
Why is sanding walls important before painting?
Sanding helps to create an even surface by removing imperfections like bumps, previous paint drips, or rough patches. This preparation is essential for achieving a smooth and professional-looking paint job.
What tools do I need to sand walls?
You'll need a sanding block or electric sander, various grits of sandpaper, a dust mask, and protective eyewear to safely and effectively sand walls.
Can I skip sanding if the walls look smooth?
Even if walls appear smooth, sanding can enhance paint adherence and help the final coat last longer, so it is generally recommended not to skip this step.
What grit sandpaper should I use?
Begin with medium-grit sandpaper (around 120) to tackle any rough patches, followed by a fine-grit paper (around 220) for a smooth finish.
How can I protect myself while sanding?
Wearing a dust mask and safety glasses is crucial to protect against inhaling dust and eye irritation. Additionally, keep the area well-ventilated.
How long should I spend sanding each wall?
The duration can vary based on wall condition, but typically it takes 15-30 minutes per room to ensure a thorough job.
Do I need to clean the walls after sanding?
Yes, it’s important to wipe down walls with a damp cloth to remove all dust particles, ensuring the paint adheres properly.
Is it necessary to sand between coats of paint?
Sanding between coats is not always necessary, but lightly sanding can help achieve a smoother finish, particularly if imperfections are present.